- Home
- Radon FAQ
- Passive Radon System Troubshoot
- Radon Sump and Pump
How to Design and Install
Radon Sump and Pump Systems
Radon sump and pump systems are very desirable because of the potential for great air movement across the foot print of the basement. This is due to drain-tile or french drains placed in a bed of gravel often along the entire footing of the foundation. These drainage pipes are perforated and laid in a bed of gravel so rising water levels can enter the tubes and flow to the sump for discharge from the building. So the french drain pipes double as a great way for the radon fan to gather radon gas to the vent pipe and send it out above the building.
Sump System Configurations
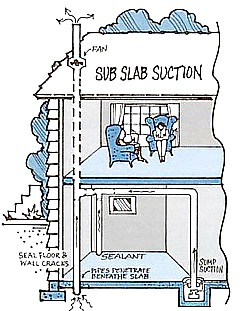
Please view the diagram and table below to decide if a radon mitigation will work with your sump system.
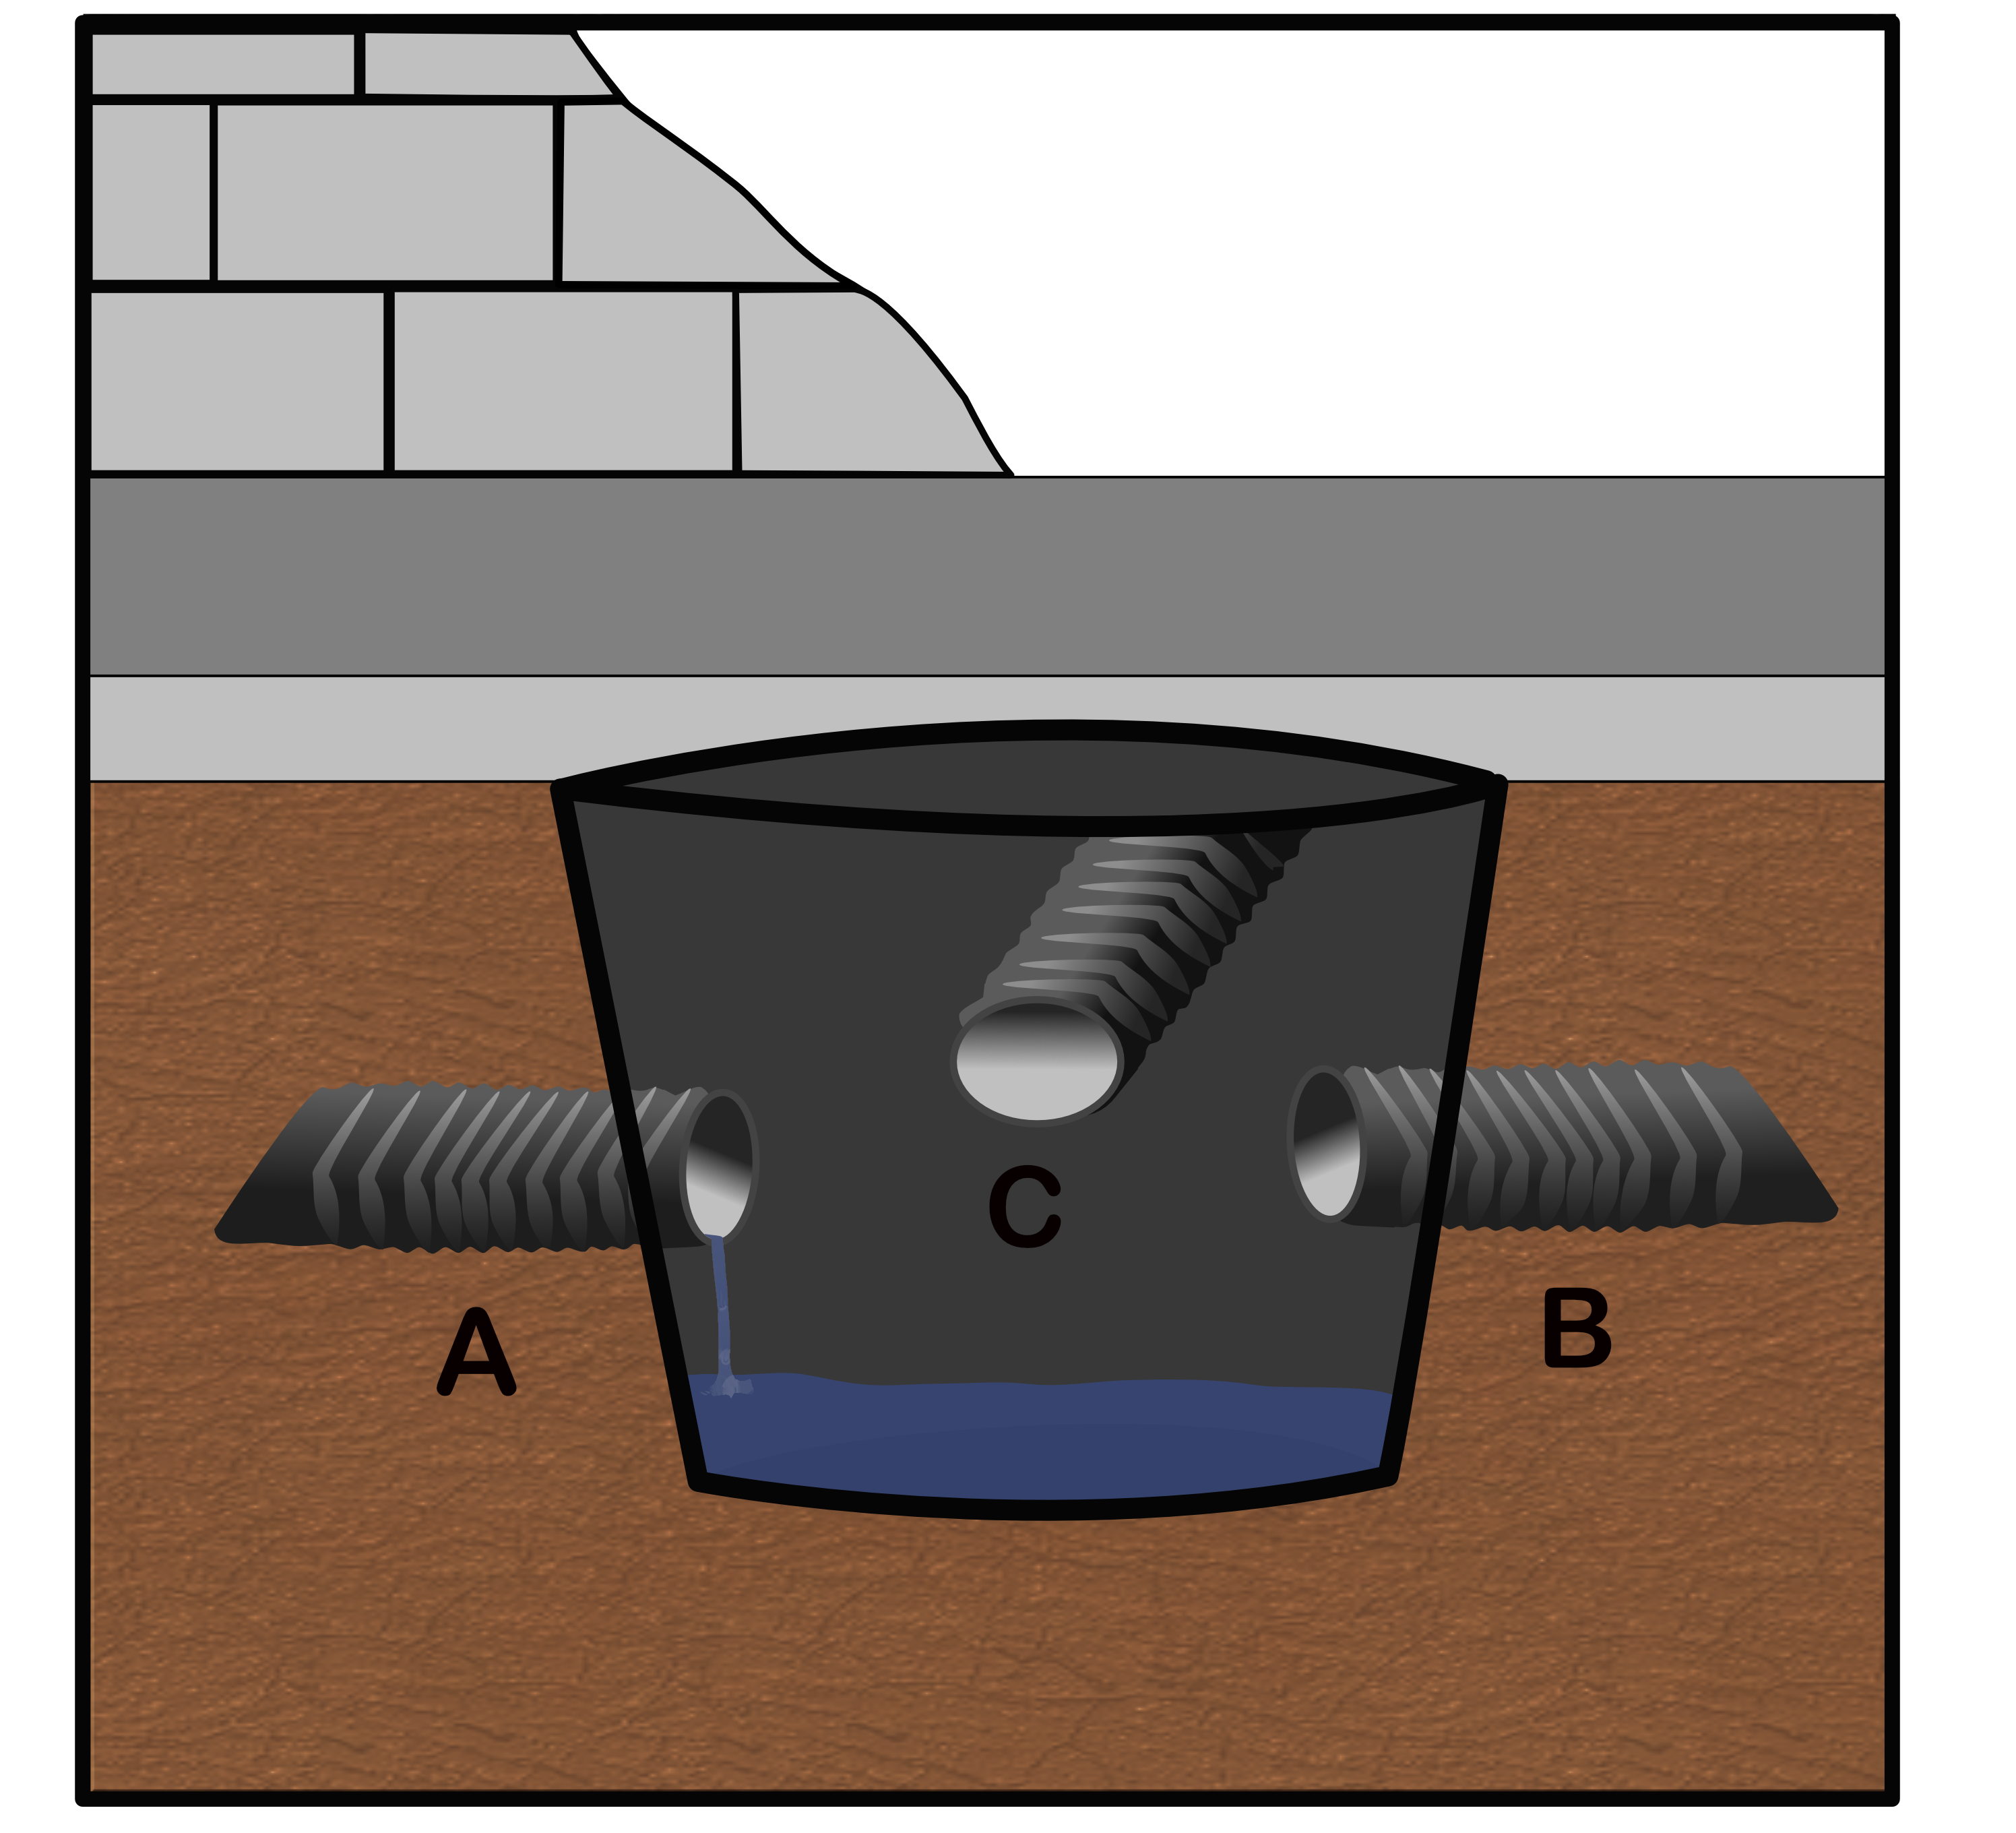
| Sump System Configurations and Radon Mitigation | ||
| Sump Set Up | Probable Situation | Will it work? |
| 2 pipes
(A+B) entering basin parallel to foundation |
Likely an interior drain-tile loop. | Excellent results can be expected. |
| 1 pipe (C) entering basin perpendicular to foundation | Usually means an exterior loop. Can be tied into an interior loop also. | Exterior systems can produce excellent results. Walkout basements may have only partial loops and daylight drains which can reduce effectiveness. |
| 1 pipe entering a sump centrally located in the basement | Likely an interior drain-tile loop | Excellent results can be expected. |
| 3 pipes (A,B,+C) | A combination interior and exterior loop. | Excellent
results can be expected. |
| No pipes with weep holes and or an open bottom to the soil. | No drainage pipes or gravel can be expected. | Not a good location for a radon vent pipe. |
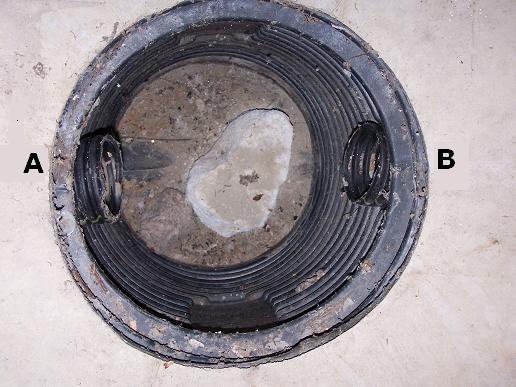
Interior French Drain/Drain Tile Example
Taking a look down the pipe with a flashlight or using a tape measure will verify the actually configuration of the system. Some times things aren't always what they seem to be, it's worth a look.
Radon Sump Pipe Location
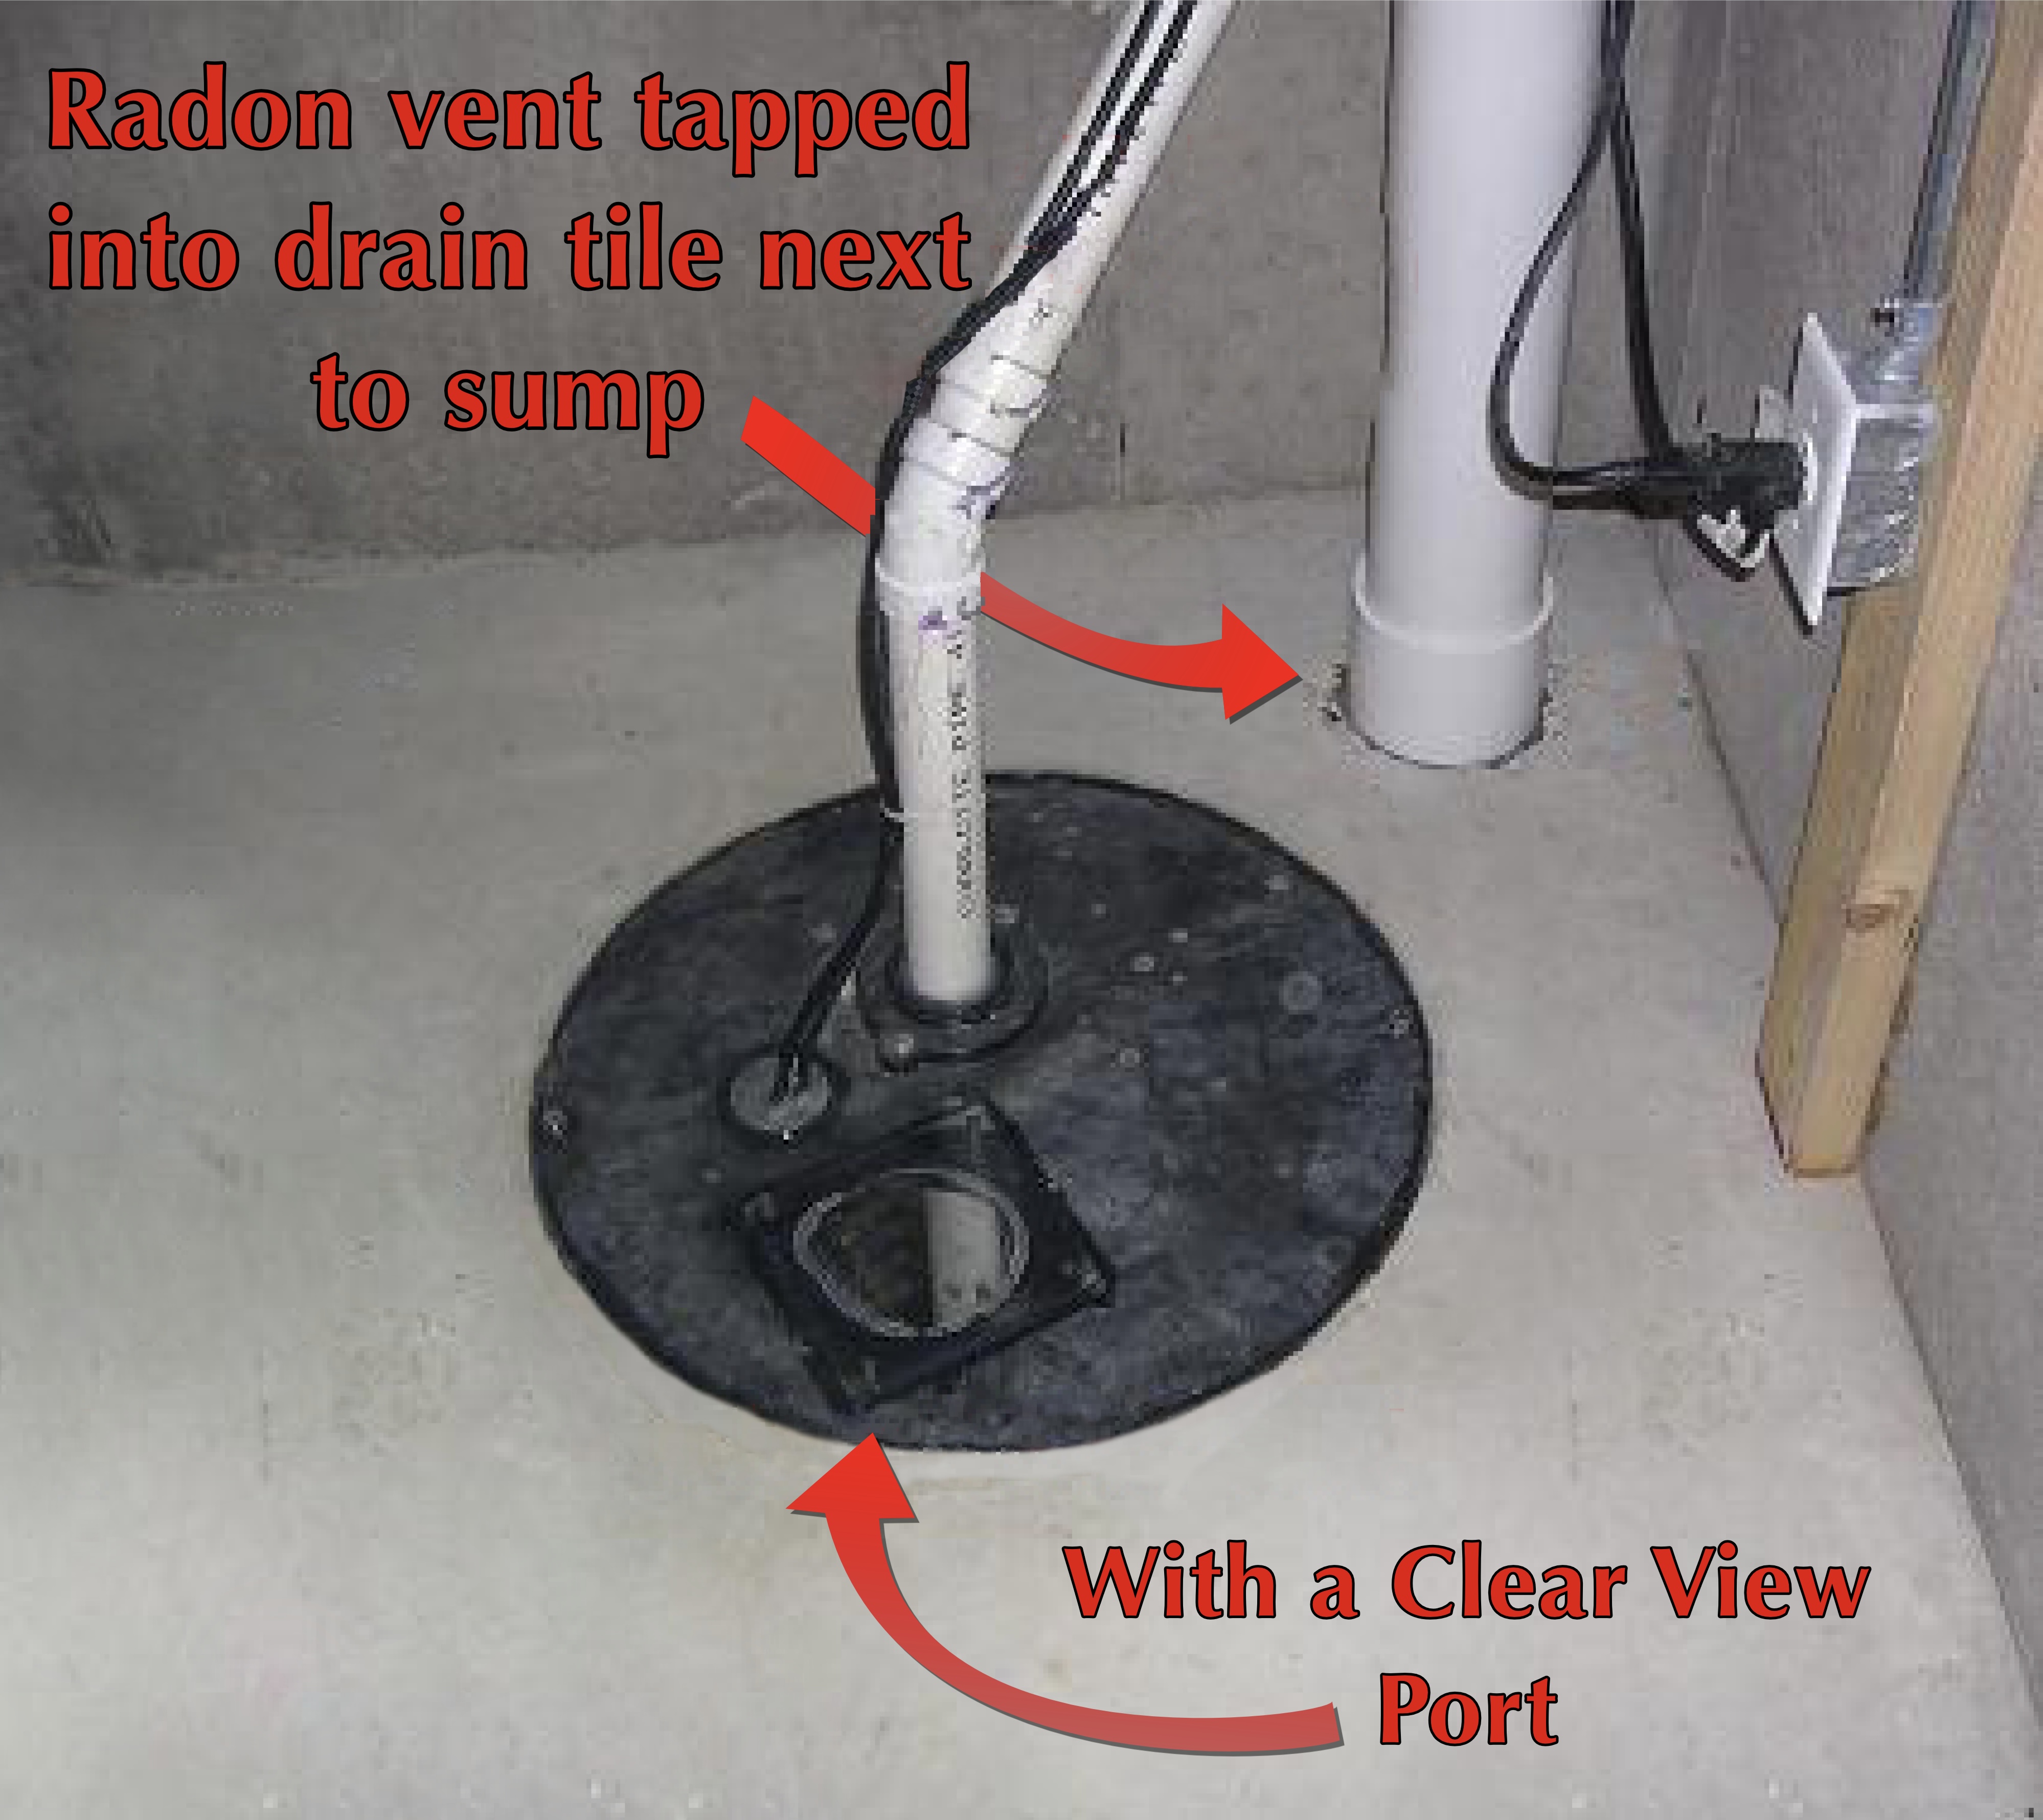
The vent pipe can either be located directly on top of the sump cover or into a hole made in the floor. If you have a sump pump in your pit that needs attention, placing a hole over the drain tile will allow for easier access to the sump when required. Or if your vent pipe's exit point from the basement is not near the sump, why not locate it there instead. Shorter pipe runs are always better. Just be sure that you can tap into the drain-tile or if you have gravel under the floor you can place the pipe just about anywhere.
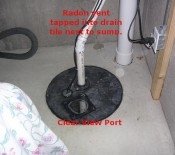
The radon vent is placed right over the drain tile in this photo. This is worthwhile if you ever anticipate going back into your sump to change the pump out.
Note: Cut a hole in the top of the tile to allow for good air flow.
If the pipe is installed in a sump with a pump, plan ahead for an emergency. I use a coupling so the pipe can be moved out of the way when the sump pump needs maintenance.
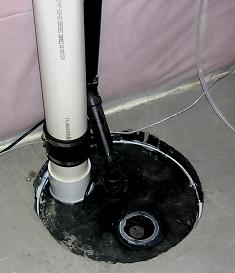
Note: with high air flows from drain-tile and gravel beds, 4" pipe is always the best bet.
Radon Mitigation Sump Cover
For any radon mitigation sealing is very important. You don't want to draw the conditioned air out of your home and blow it out the roof.
So the sump requires a cover that can be sealed and clear is preferable to view water levels.
Here are some other considerations for sealing a sump for radon mitigation:
- If you have a submersible sump pump you will need to look at purchasing an ABS cover or a Lexan cover. This can be cut to fit the size and shape of your sump basin. (See link below to all covers available)
- If you have a pedestal sump pump you will need to purchase a pedestal sump cover. This cover will allow you to encapsulate your pump and seal your basin. It will also allow all pipes to run out and any hoses to come in that need to drain. (See Install guide: Pedestal Sump Pump Cover Install Guide)
- Do you have water that flows into the basin when it rains? Or do you have other appliances draining into the sump? You will want a special sump cover drain. These allow water down but stops air draw from the house.
- If you have any untrapped drains using the sump, these will have to be retrofitted.
- A good design will allow for easy access to the sump basin by using an inspection plug. Otherwise the whole cover will have to be removed.
For more detailed info about radon mitigation sump covers and to view radon sump supplies please view them here....
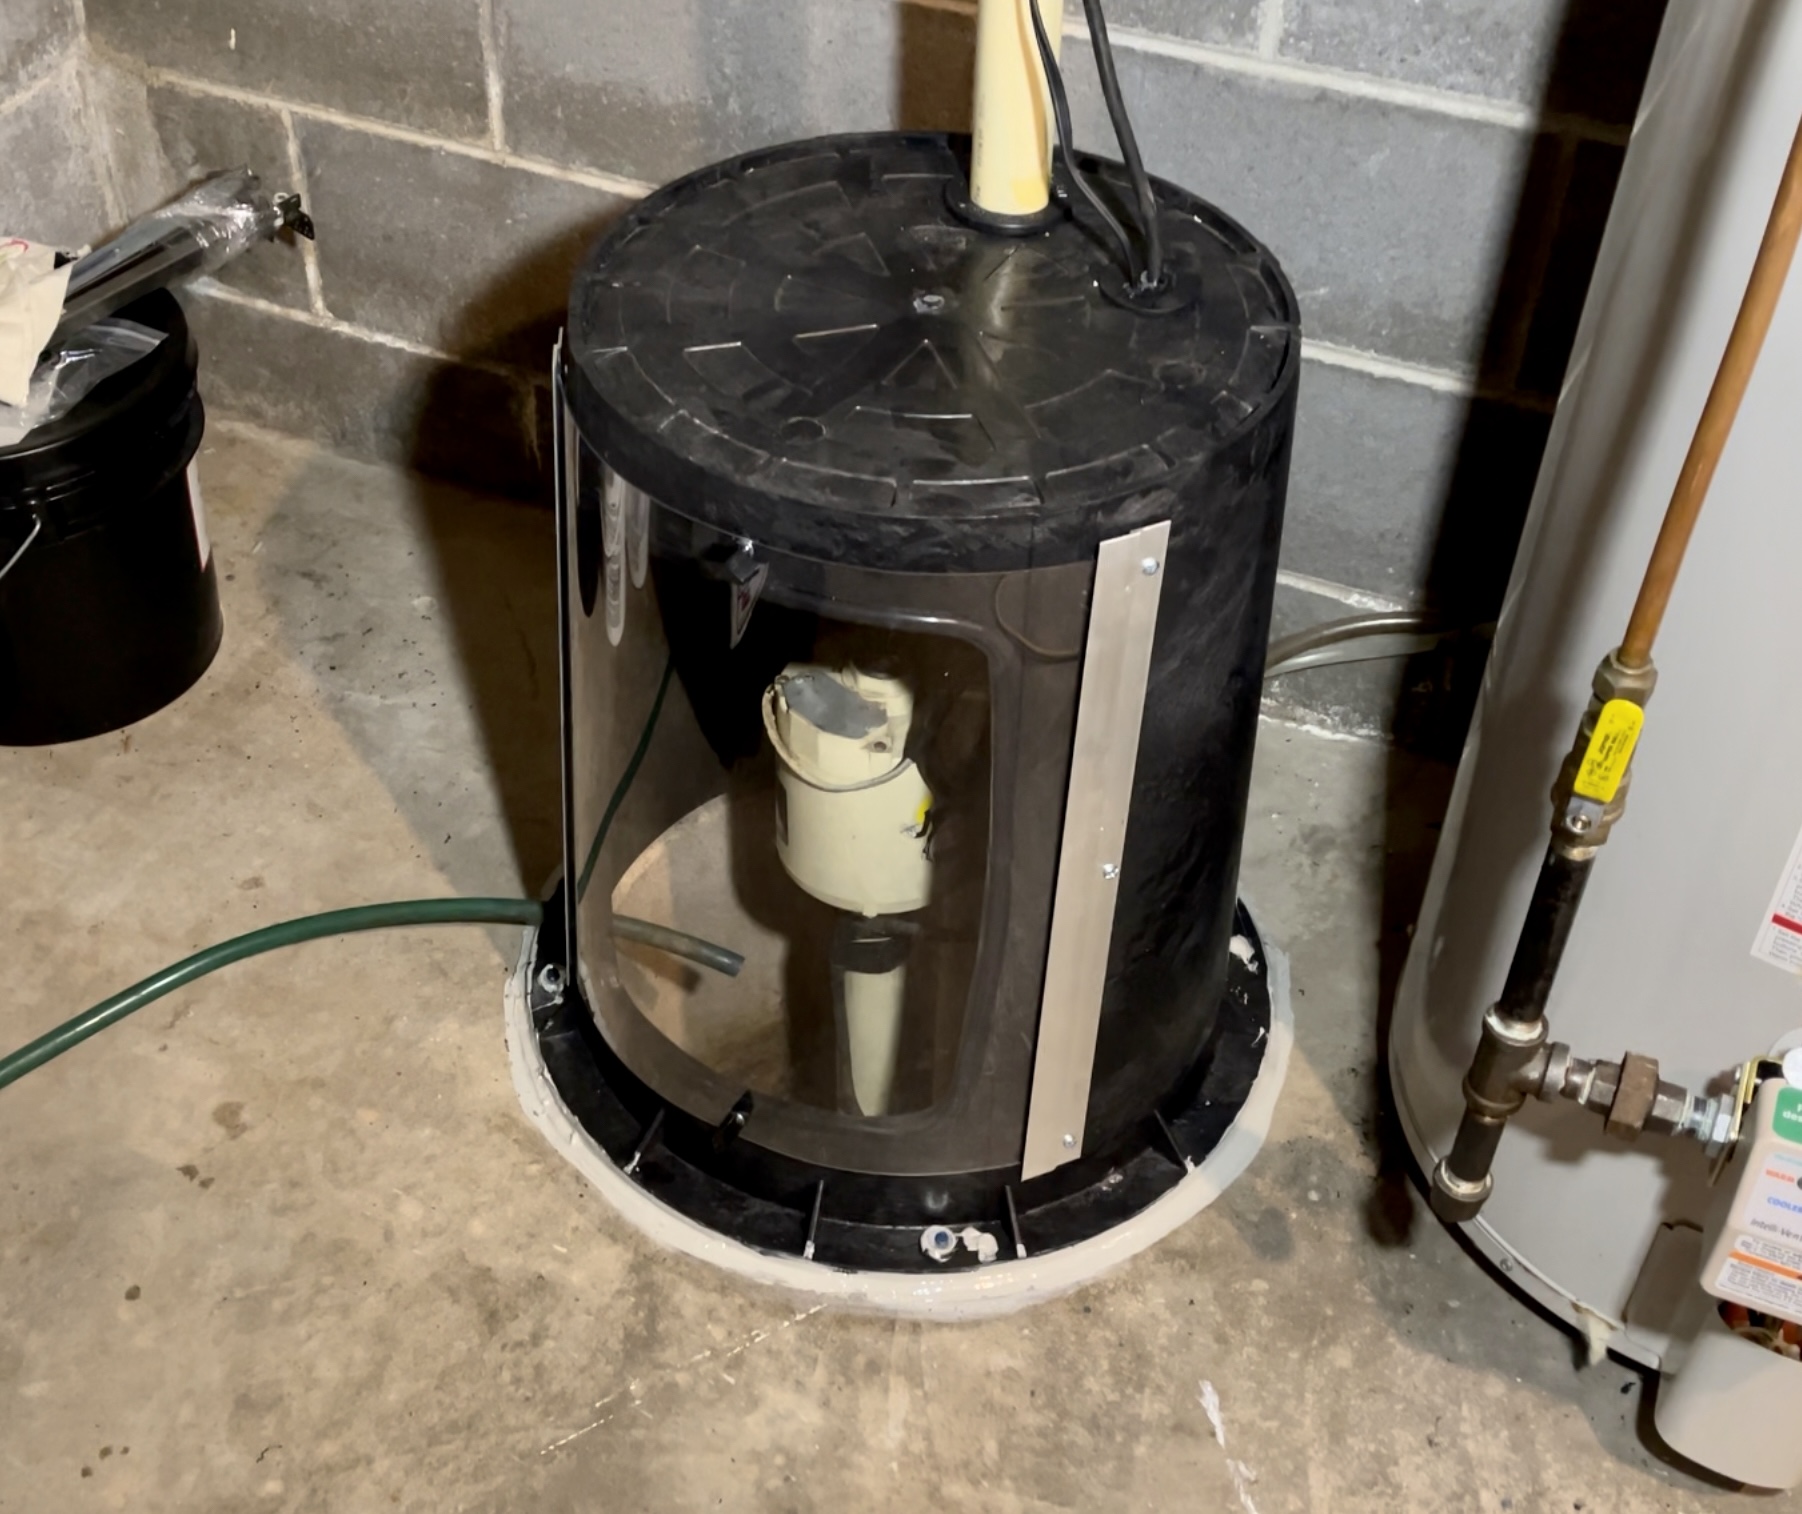
This is a pedestal sump cover after it’s installed. It gives an airtight seal but also a viewport so you can keep an eye on your pump and water levels.
Radon Fan Selection for Sumps
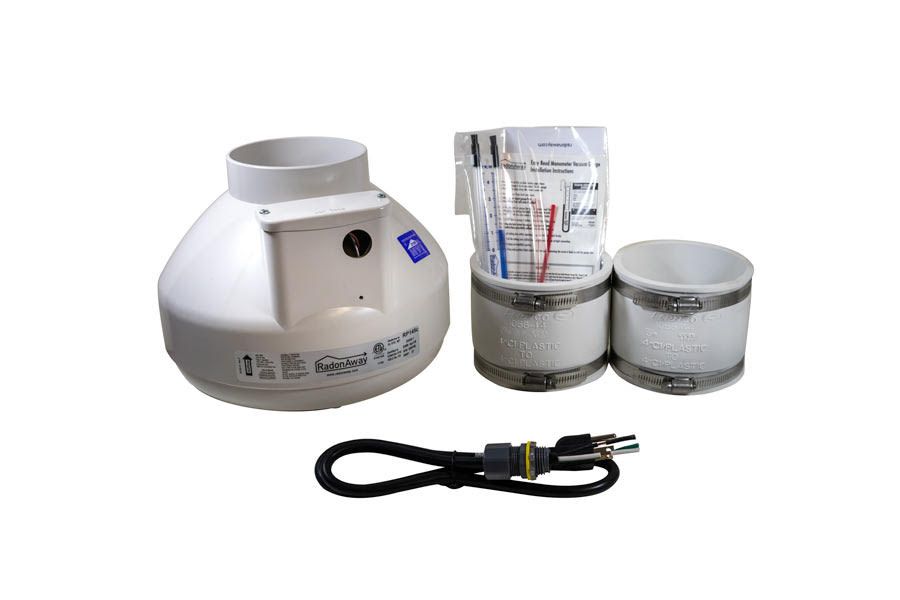
- For larger basements the RP260 and RP265 fans are a good choice. I use the XR261 for outside installs because of their slim design. These fans are only beneficial with 4" pipe as these are 6" fans. 6" pipe is rarely required in residential radon mitigations.
More Radon Reduction Information
Radon Mitigation Diagrams & Photos | Radon Mitigation Design Considerations | Vent Pipe Guidelines | Choosing a Radon Fan | Radon and Crawl Spaces | Radon and Sumps




New! Comments
Have your say about what you just read! Leave me a comment in the box below.