- Home
- Radon FAQ
- Passive Radon System Troubshoot
- Install Radon Mitigation
How to Install
Radon Mitigation Systems
Before you install radon mitigation systems a number of things need to be considered. Here are the steps I go through before starting a job.
1. What is your radon level?
This is always my first question. Obviously a level of 4pCi/L will be easier to take care of than a number in the 20’s or higher.
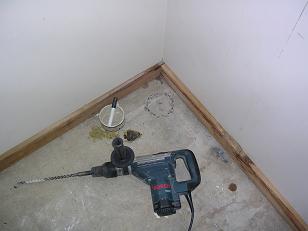
2. The age of the building
This can often shed some light on construction practices in your area. For instance, in my area homes built prior to the 1970’s often do not have a desirable fill such as sand or gravel under basement floor.
Older homes with rock foundations also need some extra consideration. Newer homes are usually easier to fix.
3. What is the square footage of the basement or crawl spaces below the home?
This has a direct bearing on how much work may have to be done to reduce your level to below 4pCi/L.
Is your basement, finished or unfinished? Finished basements can limit the ability to run pipe and have the potential to cost more if a pipe has to be covered up in a family room or bedroom.
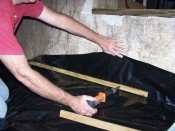
If you have any crawlspaces, is there enough space to work in? In most cases, these should be sealed with a membrane. In my home the floor joists are only 4” from the dirt, which makes it near impossible to work under there. Fortunately my level is only 2.3pCi/L.
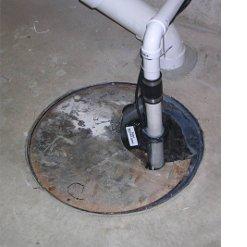
4. The construction of the building
- Are there any additions to the original structure? This could mean multiple areas to mitigate.
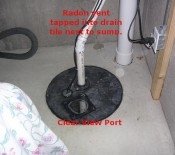
- Is there a drain-tile/french drain system with a sump pump pit? Is the drain tile on the interior of the foundation, exterior or both? Interior is preferable but exterior loops are worth considering too.
- Do you have channel drains as part of your water control system between the floor and walls?
If you know what the soil conditions are under the slab this is always an important fact. One homeowner figured out his situation by looking at a new home being constructed on the same block. He hit the jackpot with a 3” bed of gravel throughout the entire footprint. Great to move air through! Perhaps you can contact the builder to find out this information.
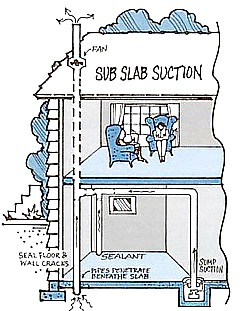
Penetrations in the floor need to be noted as they can undermine a radon system if cracks or open soil is observed. Look at where pipes enter the slab and especially under tub and shower drains where large areas of open soil are often found. Even sealing hair line cracks can greatly enhance a radon systems efficiency.
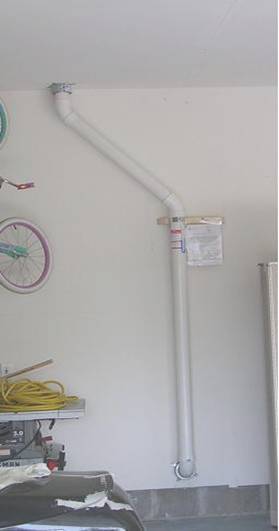
5. Where will you install radon mitigation PVC pipe?
One big question when you install radon mitigation systems is how you propose to run a 3 or 4 inch PVC pipe through your home? Going from the basement to an attached garage and then to the attic is often an option, but of course not always feasible.
Can you get to an attic through a main floor closet or plumbing chase? This is almost always an option in single story homes.
I always avoid outside systems. Why? They are big and clunky looking and in cold climates they produce a lot of condensation that can compromise the radon fans life expectancy. During extreme cold total freeze ups can occur leaving you without a system that is working.
Pipes must terminate 12" above the plane of a roof. They must be no closer than 10 feet horizontally from windows that open. For instance this may be the case if you have a garage with a bedroom overlooking the roof. If you come up a wall next to a window the pipe needs to be at least 2 feet above it and still end above the roof.
Watch the following video for step-by-step instructions on how you can install your exhaust pipe with no fear of leaks.

6. The location of the radon fan
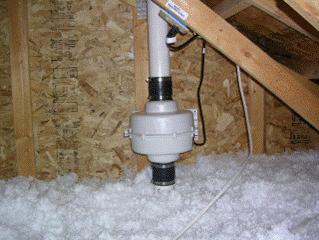
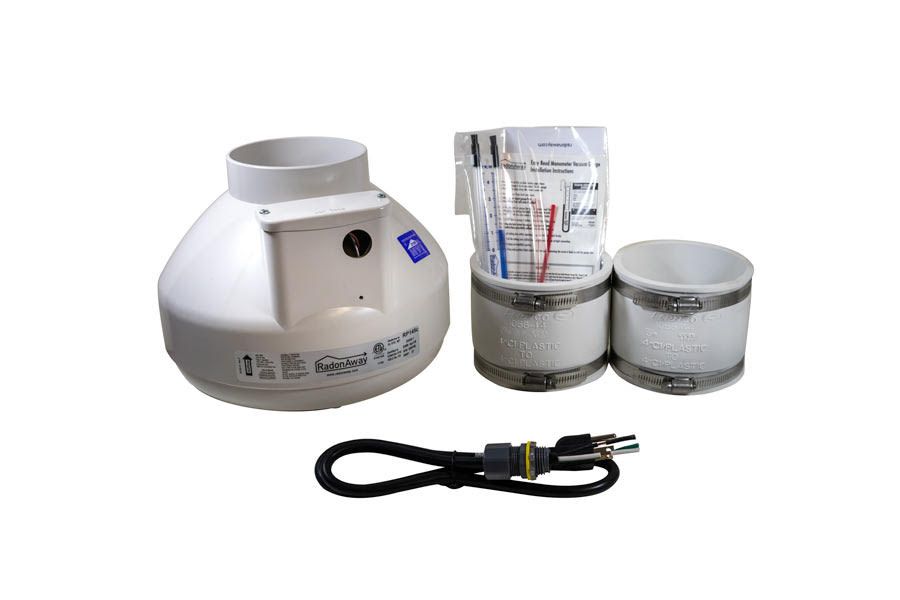
All radon mitigation installation standards require that the radon fan be located outside the living space of the home. The reasoning for this is that if a leak was to occur above the fan your house could have a really high radon level.
Fans placed in attics, garages and outside locations will keep you safe.
These are some of the major issues that will determine how you install radon mitigation systems. You’ll have to decide what you can live with in your own home and maybe what the future owners will appreciate also. It's your castle but if you sell it someday a home inspector and a picky buyer will have you changing what's not right.
To receive detailed advice for your installation, please fill in the form found at the bottom of the DIY Radon Mitigation Help page.
More Radon Reduction Information
Radon Mitigation Diagrams & Photos | Radon Mitigation Design Considerations | Vent Pipe Guidelines | Choosing a Radon Fan | Radon and Crawl Spaces | Radon and Sumps



New! Comments
Have your say about what you just read! Leave me a comment in the box below.